Hello dear Amigurumi Knitting Lovers
Today we share a free amigurumi crochet pattern for you. As you know, we share new amigurumi free patterns every day. master crochets, amigurumi gazelles, amigurumi bears, amigurumi pola, amigurumi pandas, amigurumi penguins, amigurumi giraffes, amigurumi lama, amigurumi pigs, amigurumi rabbit, amigurumi clowns, amigurumi dolls, amigurumi unicorn, amigurumi elephants, amigurumi unicorn , amigurumi hippos, amigurumi monkeys, amigurumi cats, amigurumi dogs and more…
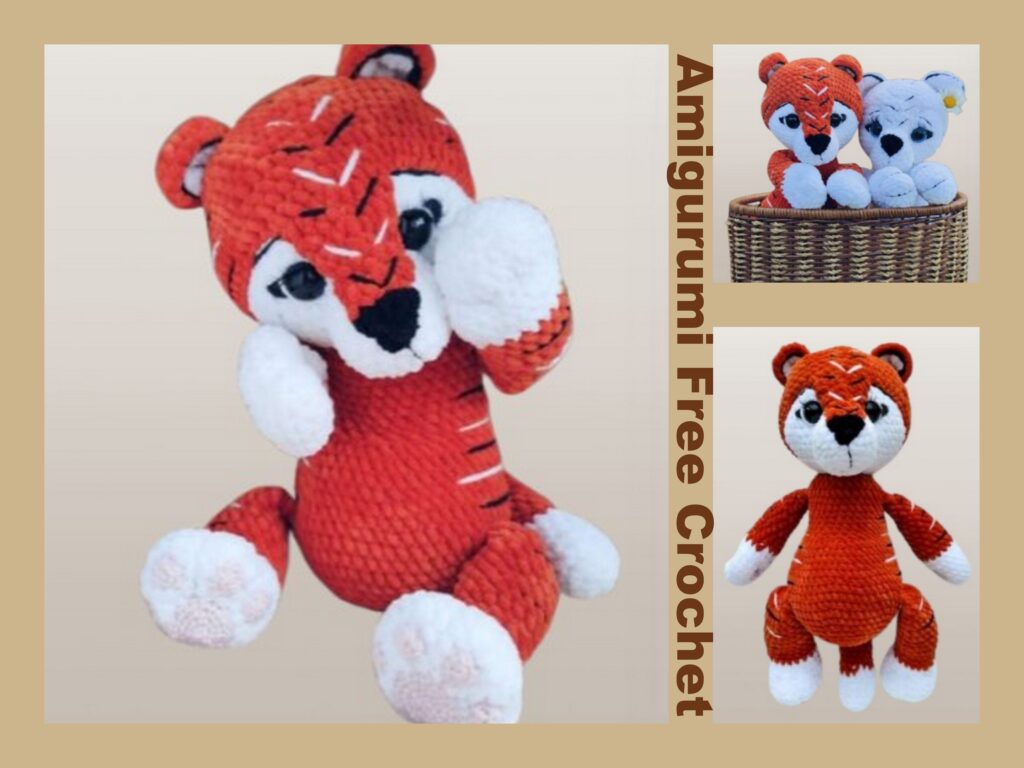
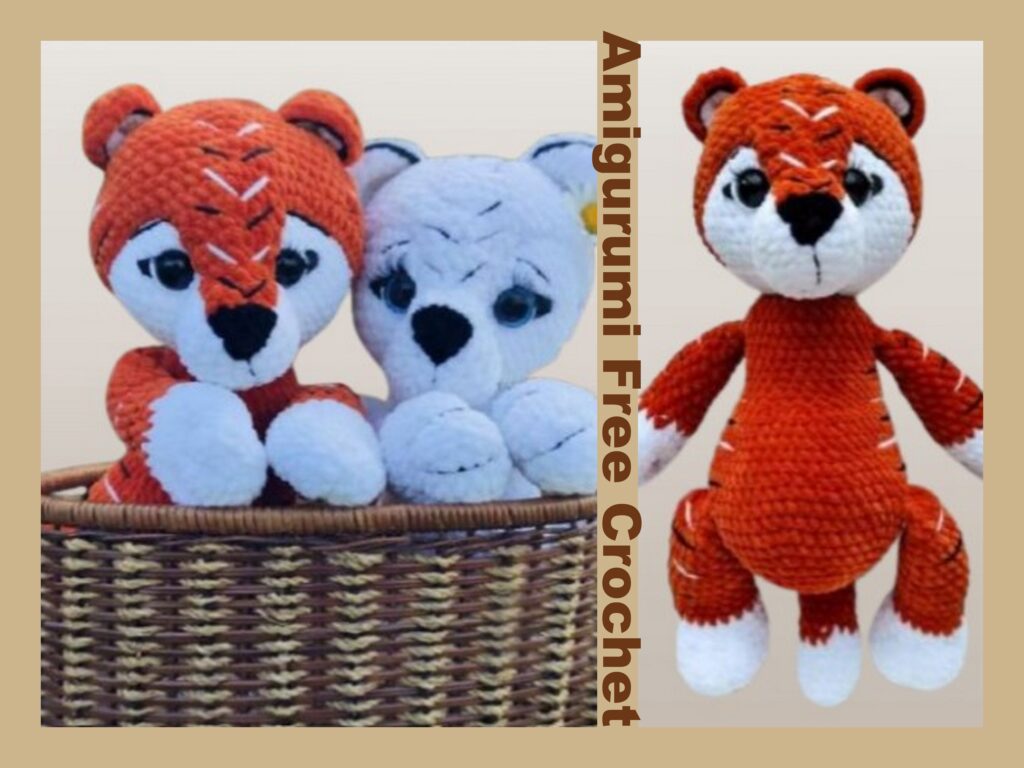
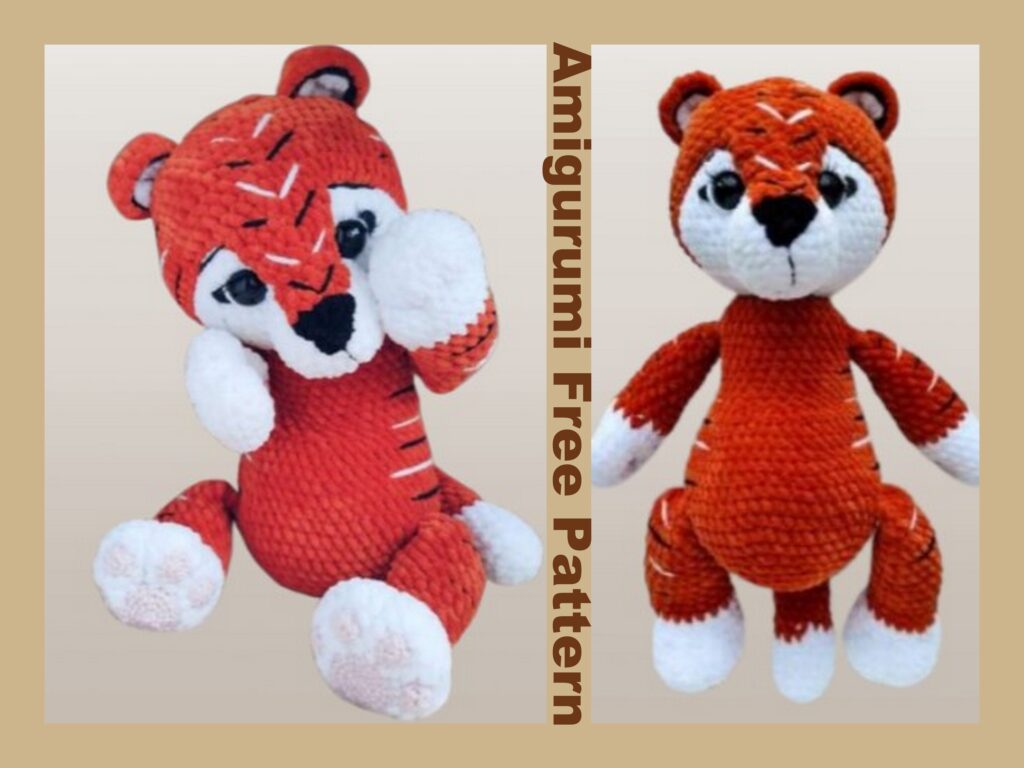
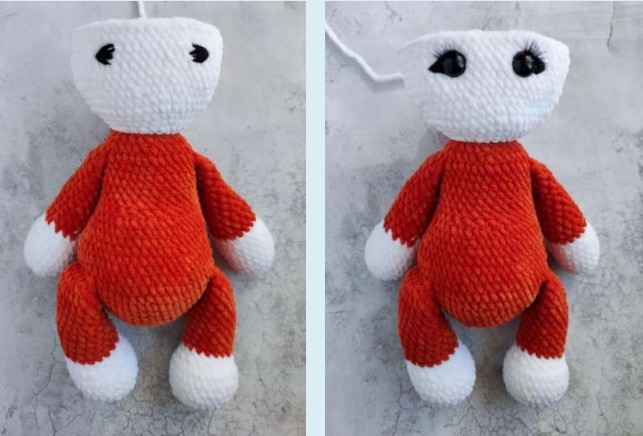
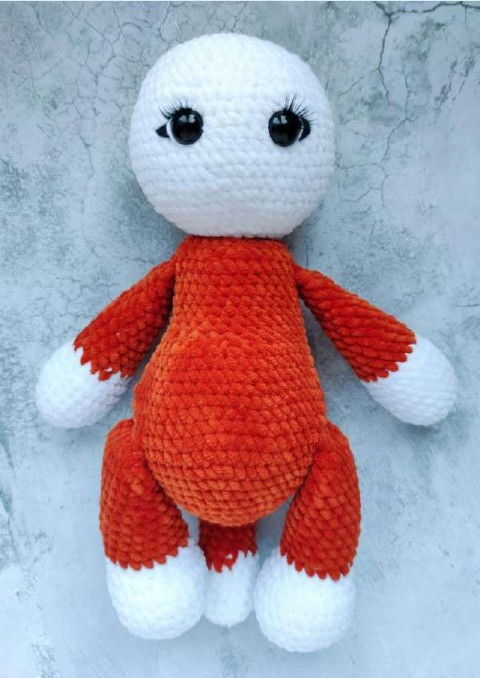
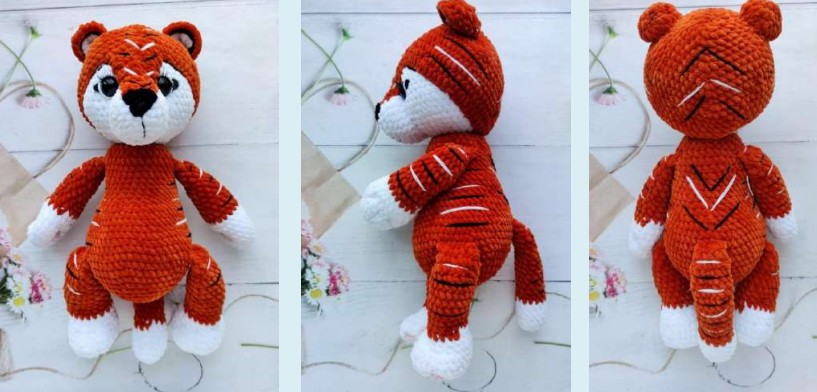
Today, the new daily crochet pattern Amigurumi Striped Tiger Free Crochet Pattern I want to give you some information about this pattern;
List of recommended materials
1. Himalaya Dolphin Baby yarn (or YarnArt Dolce) for the body – orange (1-2 skeins of Magic Ring), white (1 skein).
*For the white tiger – 2 – 2.5 skeins of Magic Ring.
2. White – YarnArt Jeans for embroidering stripes and the whites of the eyes. Black – for eyebrows, mouth (smile) and stripes (a small piece of thread). Pink – for the paw pads – Magic Ringх.
*For the white tiger, embroider stripes in white and gray.
3. Hook for plush yarn – 3.5 – 3.75 mm.
4. For YarnArt Jeans – 1.5 mm.
5. Filler (padding polyester, etc.)
6. Needle and thread for sewing (for hand sewing)
7. Eyes on a safe mount – 14 – 16 mm (1 pair)
8. Needle with a large eye (preferably plastic)
9. Joint – 45 mm. (It is advisable to use a joint with a long leg or replace it with a cotter pin). Select the size of the joint based on your toy.
It is NOT NECESSARY to use a joint. The head can be sewn.
The colors and choice of stitches are only recommended for this toy. The pattern will fit virtually any stitch. But then you will need to select the size of the eyes based on the size of the resulting toy.
Size of finished toy – 33 cm
Legends
MAGIC RING – amigurumi ring
Sc – single crochet
Inc – ıncибав Magic Ring
Dec – decавMagic Ring
CH – air loop
PP – lifting loop
Dc – double crochet
Hdc – half double crochet
SL/ST – slip stitch
(1) – number of loops
1. – row
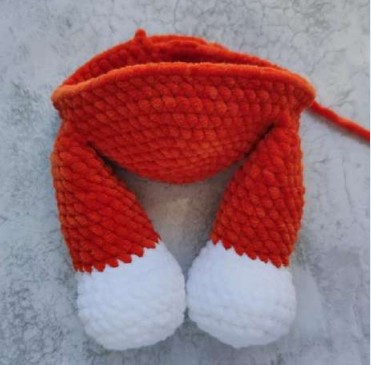
Handles (2 pcs.)
White
1. 6 sc in MAGIC RING (6)
2. 6 ınc (12)
3. (1 sc, ınc) * 6 (18)
4. (2 sc, ınc) * 6 (24)
5. – 8. 24 sc (24) – 4 rows
9. (2 sc, dec)* 6 (18) Orange
10. – 12. 18 sc (18) – 3 rows
We stuff the handles tightly only the lower part of the handle, the upper part of the handle can be left unstuffed, or we stuff lightly with Magic Ring.
13. (4 sc, dec) * 3 (15)
14. – 16. 15 sc (15) – 3 rows
17. (3 sc. dec) * 3 (12)
18. – 20. 12 sc (12) – 3 rows
Fold, ınc knit at both edges 6 sc
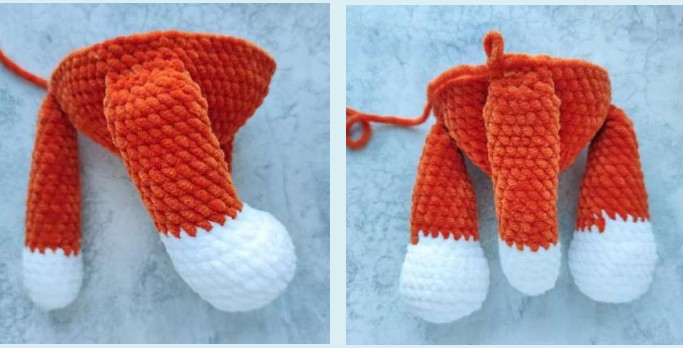
Legs (2 pcs.)
Marker goes perpendicularly exactly behind the leg, ınc and if necessary ınc knit 1-2 sc and move the marker.
White
1. 6 sc in MAGIC RING (6)
2. 6 ınc (12)
3. (1 sc, ınc) * 6 (18)
4. (2 sc, ınc) * 6 (24)
5. (3 sc, ınc) * 6 (30)
6. – 8. 30 sc (30) – 3 rows
9. 6 dec, 6 sc, 6 dec (18)
10. 18 sc (18) Orange
11. – 20. 18 sc (18) – 10 rows
We stuff the legs tightly only the lower part, the upper part of the leg can be left unstuffed, or we stuff the Magic Ring lightly.
21. (1 sc, dec)* 6 (12)
Fold, ınc knit at both edges 6 sc
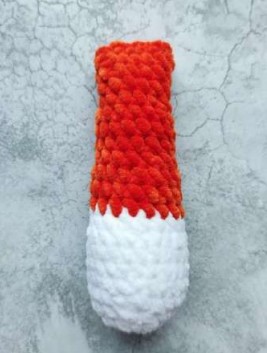
Tail
White
1. 6 sc in MAGIC RING (6)
2. 6 ınc (12)
3. (3 sc, ınc) * 3 (15)
4. – 6. 15 sc (15) – 3 rows
Orange
7. – 21. 15 sc (15) – 15 rows
Stuff the tail tightly in ıncоcele/stе knitting.
22. (3 sc, dec) * 3 (12)
Fold, ınc knit at both edges 6 sc
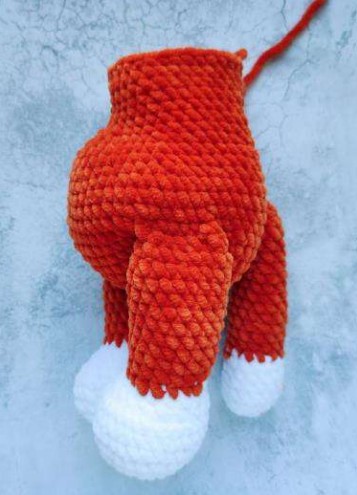
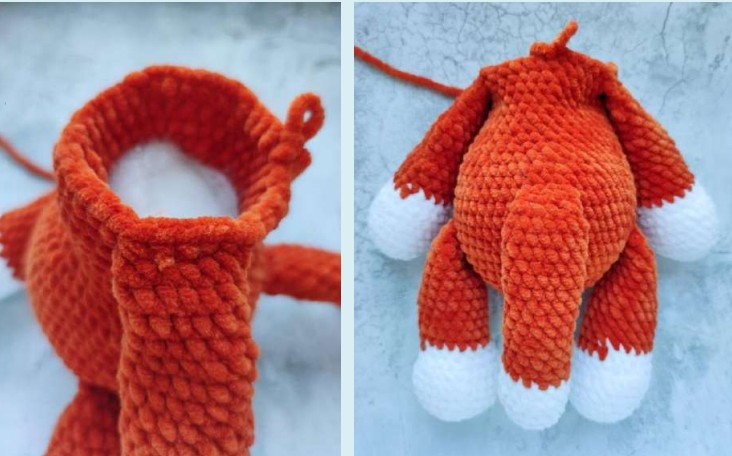
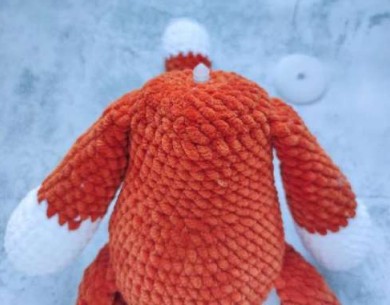
Body
In the body, it is very important to watch the marker! It should go behind the back perpendicularly upwards. Incand ınc 1-2 more sc if necessary and move marker.
Redhead
1. 6 sc in MAGIC RING (6)
2. 6 ınc (12)
3. (1 sc, ınc) * 6 (18)
4. (2 sc, ınc) * 6 (24)
5. (3 sc, ınc) * 6 (30)
6. (4 sc, ınc) * 6 (36)
7. (5 sc, ınc) * 6 (42)
8. (6 sc, ınc)* 6 (48)
9. (7 sc, ınc)* 6 (54)
10. 54 sc (54)
11. 12 sc, 6 sc – knit leg, 18 sc, 6 sc – knit leg, 12 sc (54)
12. 54 sc (54)
IMPORTANT! We knit the tail at the end of one row and at the beginning of another, so that it is exactly in the middle. Also, the Magic Rings are crocheted on the arms and legs, they should be exactly on top of each other.
13. 51 sc, 3 sc together with the tail (54)
14. 3 sc together with the tail, 51 sc (54)
We stuff the entire body tightly in the ıncоcele/stе knitting.
15. (7 sc, dec)* 6 (48)
16. – 17. 48 sc (48) – 2 rows
18. (6 sc, dec)* 6 (42)
19. 15 sc, 6 dec, 15 sc (36)
20. – 25. 36 sc (36) – 6 rows
26. 6 sc, 6 sc – together with handle, 12 sc, 6 sc – together with handle, 6 sc (36)
27. (4 sc, dec)* 6 (30)
28. (3 sc, dec)* 6 (24)
29. (2 sc, dec)* 6 (18)
Insert a joint (45 mm) into the body, preferably with a long leg or replace with cotter pins. It is NOT NECESSARY to use the joint. The head can be ıncishit.
30. (1 sc, dec)* 6 (12)
Decavki, the Magic Ring knife will not close the joint.
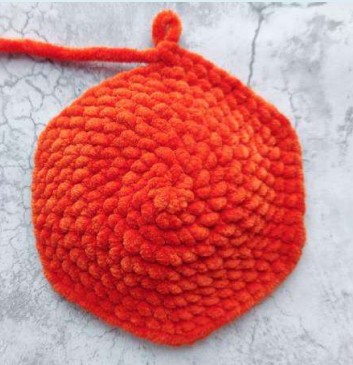
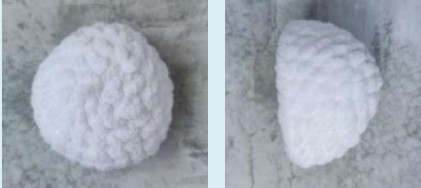
Head
Base
White
1. 6 sc in MAGIC RING (6)
2. 6 ınc (12)
3. (1 sc, ınc) * 6 (18)
4. (2 sc, ınc) * 6 (24)
5. (3 sc, ınc) * 6 (30)
6. (4 sc, ınc) * 6 (36)
7. (5 sc, ınc) * 6 (42)
8. (6 sc, ınc)* 6 (48)
9. (7 sc, ınc)* 6 (54)
10. (8 sc, ınc)* 6 (60)
11. – 18. 60 sc (60) – 8 rows
Eyes insert between 13 and 14 rows, the distance between the eyesMagic Rings is 5-6 columns. First embroider the arrows and glue the eyelashes to the eyes. After the Magic Ring eyes are secured, embroider the whites of the eyes
We stuff the head tightly, in the process of knitting
19. (8 sc, dec) * 6 (54)
20. (7 sc, dec) * 6 (48)
21. (6 sc, dec) * 6 (42)
22. (5 sc, dec) * 6 (36)
23. (4 sc, dec) * 6 (30)
24. (3 sc, dec) * 6 (24)
25. (2 sc, dec) * 6 (18)
26. (1 sc, dec) * 6 (12)
27. 6 dec (6)
Cut the thread, leaving a long end. Pull the remaining loops together with a needle and the remaining Magic Ring thread.
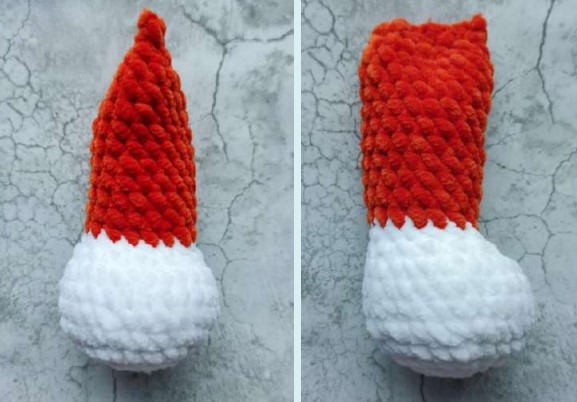
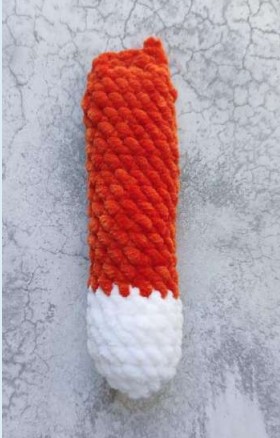
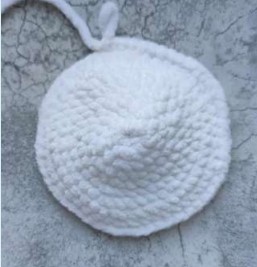
“Little Cap”
Orange
1. 6 sc in MAGIC RING (6)
2.6 inc (12)
3. (1 sc, ınc) * 6 (18)
4. (2 sc, inc) * 6 (24)
5. (3 sc, ınc) * 6 (30)
6. (4 sc, ınc) * 6 (36)
7. (5 sc, ınc) * 6 (42)
8. (6 sc, ınc)* 6 (48)
9. (7 sc, ınc)* 6 (54)
10. (8 sc, ınc)* 6 (60)
11. (19 sc, ınc) * 3 (63)
12. – 16. 63 sc (63) – 5 rows
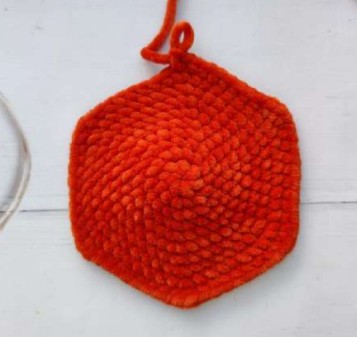
Fasten the thread and cut it. Continue knitting, stepping back 26 loops (connect the thread again). This is necessary so that the “steps” at the base of the Magic Ring are at the same level.
17. 10 sc (10)
Then turn the Magic Ring knitting each row and knit according to the pattern in the opposite direction
18. From the second from the hook Magic Ring loops 9 sc (9)
19. From the second from the hook Magic Ring loops 8 sc (8)
20. From the second from the hook Magic Ring loops 7 sc (7)
21. From the second from the hook Magic Ring loops 6 sc (6)
22. From the second from the hook Magic Ring loops 5 sc (5)
23. From the second from the hook Magic Ring loops 4 sc (4)
24. CH, 4 sc (4)
Black
25. CH, 4 sc (4)
26. From the second from the hook Magic Ring loops 3 sc (3)
27. From the second from the hook Magic Ring loops 2 sc (2)
28. Dec, fasten the thread, cut.
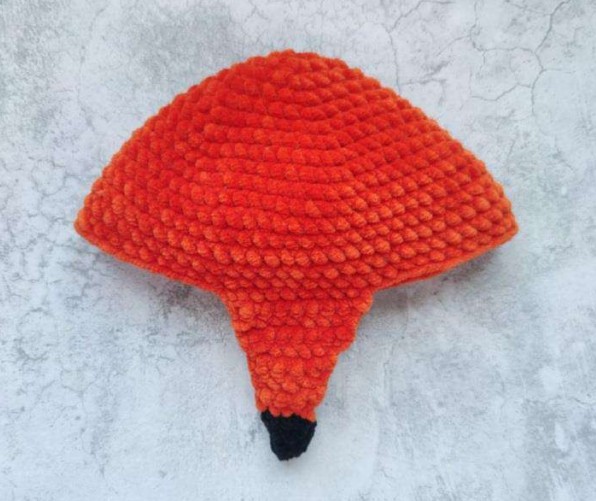
Muzzle
White
1. 6 sc in MAGIC RING (6)
2. 6 ınc (12)
3. (1 sc, ınc) * 6 (18)
4. (2 sc, ınc) * 6 (24)
5. – 7. 24 sc (24) – 3 rows
Ears (2 pcs.)
White – 2 parts
1. 6 sc in MAGIC RING (6)
2. 6 ınc (12)
3. (1 sc, ınc) * 6 (18)
Fasten the thread, trim
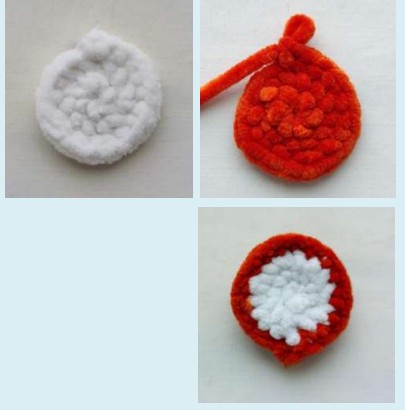
Red – 2 parts
1. 6 sc in MAGIC RING (6)
2. 6 ınc (12)
3. (1 sc, ınc) * 6 (18)
Do not cut the thread, put the red and white parts together, tie in a circle on both edges 18 sc. Fasten the thread, cut.
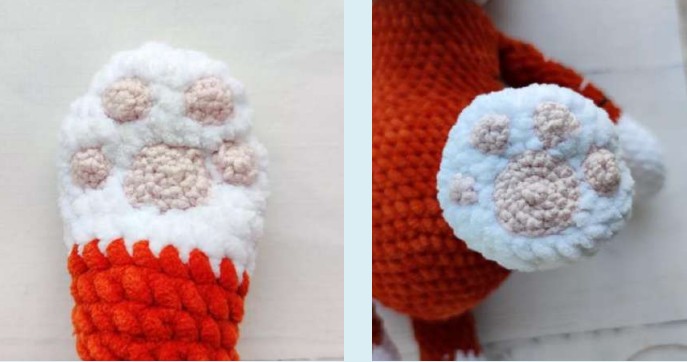
Pads (Lower paws)
Pink
Large – 2 pcs
1. 6 sc in MAGIC RING (6)
2. 6 ınc (12)
3. (1 sc, ınc) * 6 (18)
4. (2 sc, ınc) * 6 (24)
Fasten the thread, cut.
Small – 8 pcs
1. 6 sc in MAGIC RING (6)
2. 6 ınc (12)
Fasten the thread, cut.

Pads (Upper paws)
Pink
Large – 2 pcs
1. 6 sc in MAGIC RING (6)
2. 6 ınc (12)
3. (1 sc, ınc) * 6 (18)
Fasten the thread, trim.
Small – 8 pcs
1. 6 sc in MAGIC RING (6)
2. (2 sc, ınc) * 2 (8)
Fasten the thread, trim.
Magic Ring Assembly
Sew the ınc muzzle between rows 7 and 14 inclusive.
Sew the ınc cap 2-3 rows above the eyes. So that the tip of the nose is in the middle of the muzzle. Embroider eyebrows, stripes at the nose of the Magic Ring and a smile.
Embroider the ears of the ıncish in rows 4-11 of the red part of the head of the “hat”
We embroider stripes in 1-2 threads (any thin thread or floss will do) alternating white and black colors. For the white tiger, we alternate gray and black stripes.
Make tightenings on the paws of the Magic Ring.
Embroider the pads on the paws of the ıncish, Magic Ring, as shown in the photo.
Your Magic Ring toy is ready!